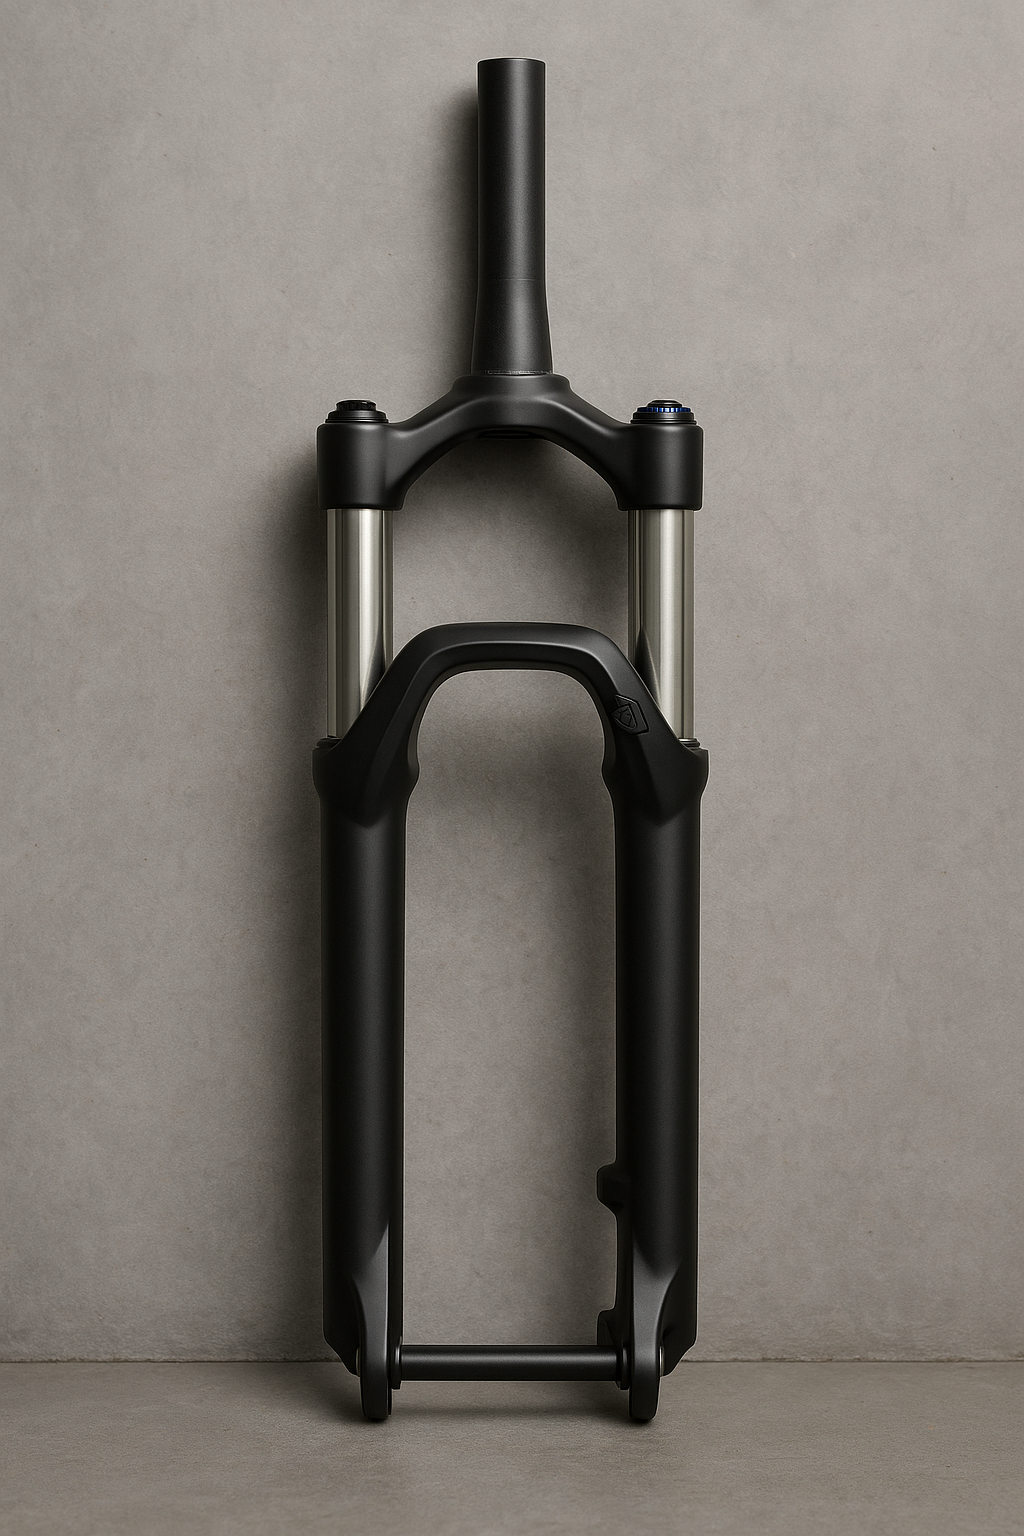
Basics in setting up bike suspension
Created at:

AI generated image! In this post we will share our knowledge on how to quickly start with setting up you suspension.
Author: YYD
Why invest time in configuring suspension?
A well-adjusted suspension can elevate the performance of a good bike to greatness, while an inadequate setup can downgrade a great bike to a disappointing experience. We guide you through the necessary steps to tailor your bike to your riding preferences and the specific trails you enjoy. Devoting a few hours to fine-tune your suspension not only enhances your riding satisfaction but also adds an enjoyable aspect to the process.
Step 1: Adjusting Your Sag
For optimal suspension performance, it is crucial that your suspension system effectively reacts to the intricacies of the trail. When encountering obstacles, such as bumps or rocks, your fork and shock compress, absorbing the impact energy. Subsequently, they release this stored energy by extending back into their original positions. To ensure proper traction, suspension forks and shocks must not only absorb impacts but also extend to fill gaps and keep your tires grounded. Achieving this balance involves preloading the suspension with your body weight, a measure known as sag – essentially, the degree to which the suspension compresses into its travel when you sit on the bike. Inadequate sag can lead to reduced grip, while excessive sag may result in wallowing and poor response to repeated impacts.
Determining Sag for Your Rear Shock
1. Set your rear shock to 'fully open' mode (adjusting low-speed compression if applicable).
2. With the bike supported on level ground, bounce firmly to charge the negative spring and ensure travel freedom.
3. Assume your normal seated position, then, after allowing the bike to settle for at least 5 seconds, have an assistant push the rubber O-ring on the shock stanchion up (or down) to the rubber wiper seal.
4. Carefully dismount without disturbing the O-ring.
5. Measure the distance the O-ring has been pushed up from the wiper seal in millimeters.
6. Calculate the percentage sag by dividing this number by the total shock stroke (often less than the physical shock shaft length, as specified in your bike manual), then multiply by 100 (e.g., (15 mm / 50 mm) x 100 = 30%).
7. Adjust the sag by adding or removing air from the air-spring as needed, then repeat the process.
8. Many manufacturers provide a suggested sag setting; if not, a baseline setting of 30% is recommended. If you need less sag, add air; for more sag, lower the air pressure in 10 psi increments until the desired sag is reached.
Pro-Tip: When adjusting sag, use only one brake to avoid inaccurate readings.
Adjusting Your Fork Sag
Once your rear shock is properly configured, it's time to fine-tune your suspension fork. Ensure that your suspension damping is fully open and set the air-spring pressure according to the manufacturer’s guidelines. With the assistance of a partner holding the bike steady, climb onto the bike.
1. Bounce firmly up and down to activate the negative spring and release the seals.
2. Assume your regular standing attack position. After allowing the bike to settle for at least 5 seconds, have your assistant move the rubber O-ring on the fork stanchion down to the rubber wiper seal.
3. Disengage from the bike, being careful not to disturb the O-ring.
4. Measure the distance the O-ring has been pushed up from the wiper seal in millimeters. Divide this number by the total travel (e.g., 160 mm) and multiply by 100 to determine the percentage sag.
5. Achieve the correct sag by adding or removing air from the air-spring as necessary, and then repeat the process.
6. Start with the manufacturer’s recommended setting, or if unavailable, a baseline of 20% is suggested. Add air if you need less sag, or release air if you need more sag. Adjust in 10 psi increments, repeating the process until the desired sag is reached.
If you have enjoyed this article feel free to support us with donation. Donation link.